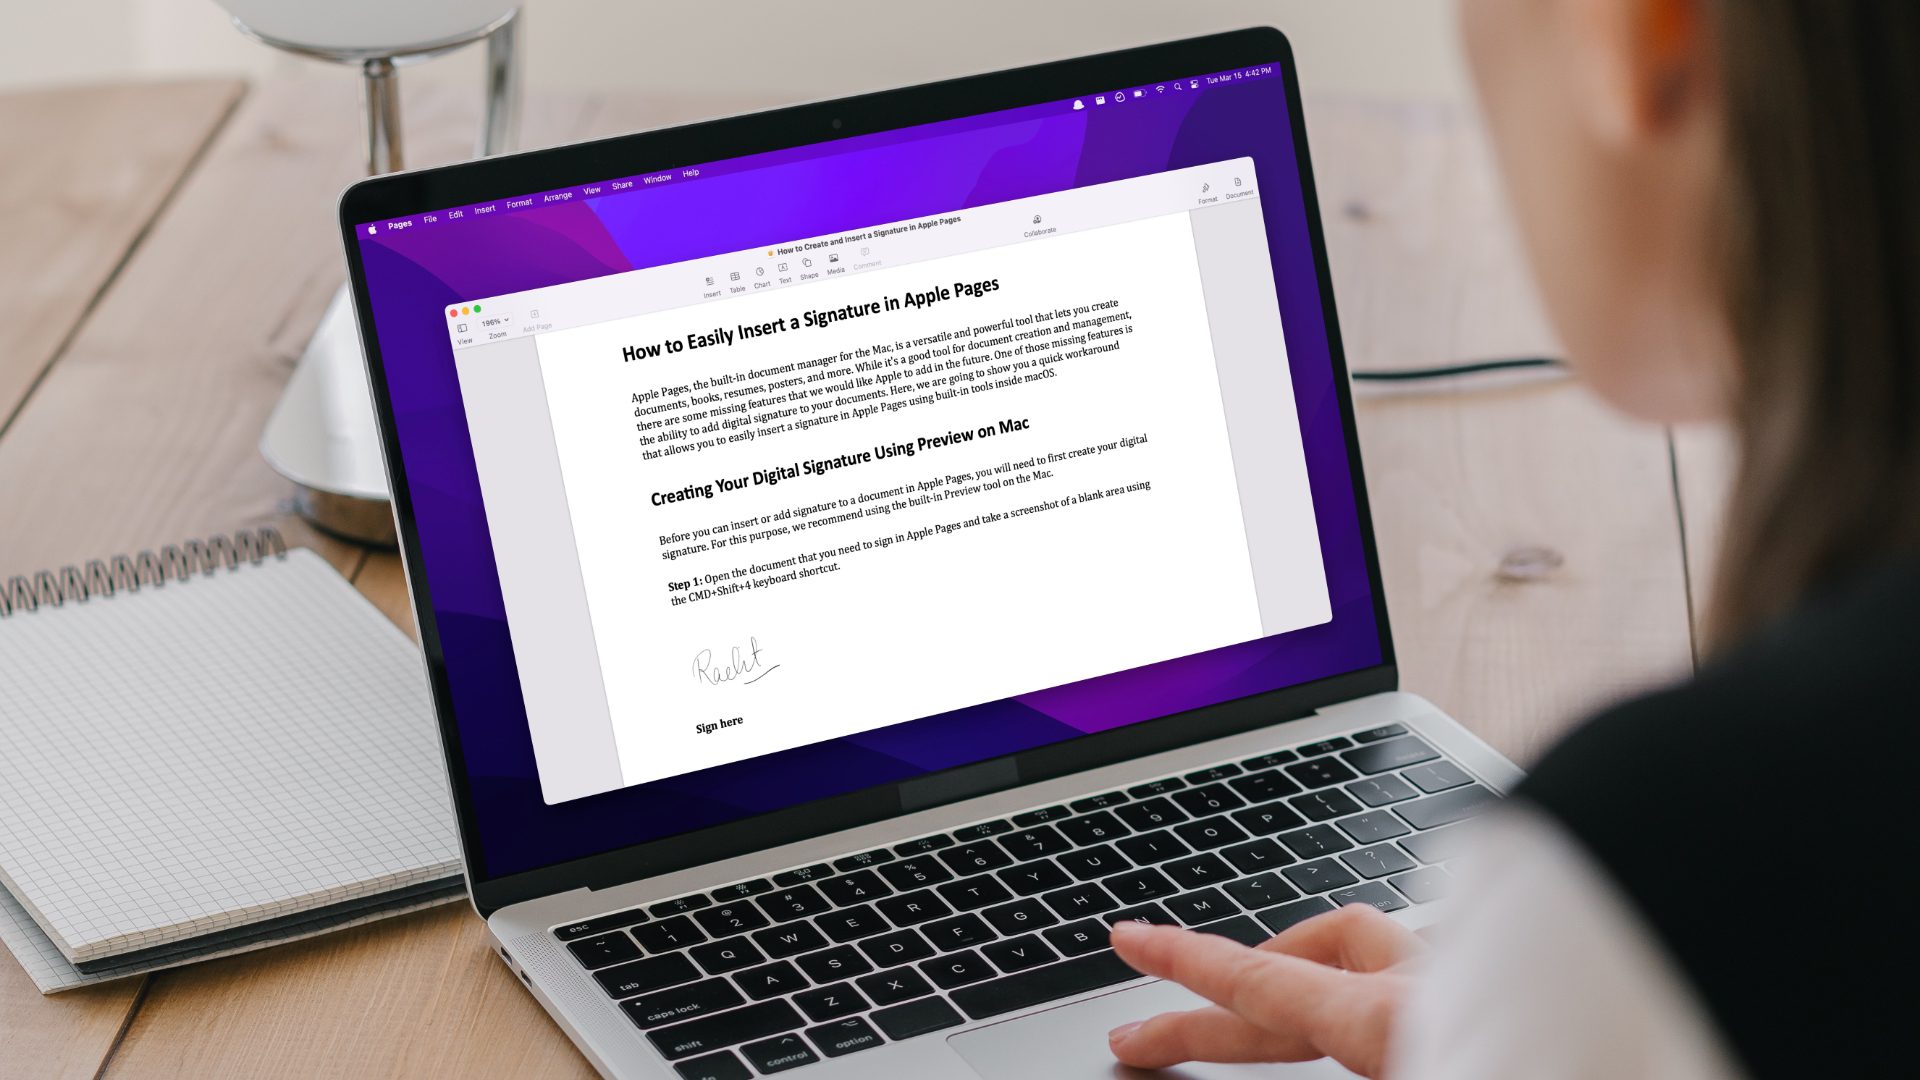
Apple needs to add a digital signature feature to Pages for your document. This guide will show you a quick workaround to easily insert a signature in Apple Pages using the Preview app on the macOS.
Creating Your Digital Signature Using Preview on Mac
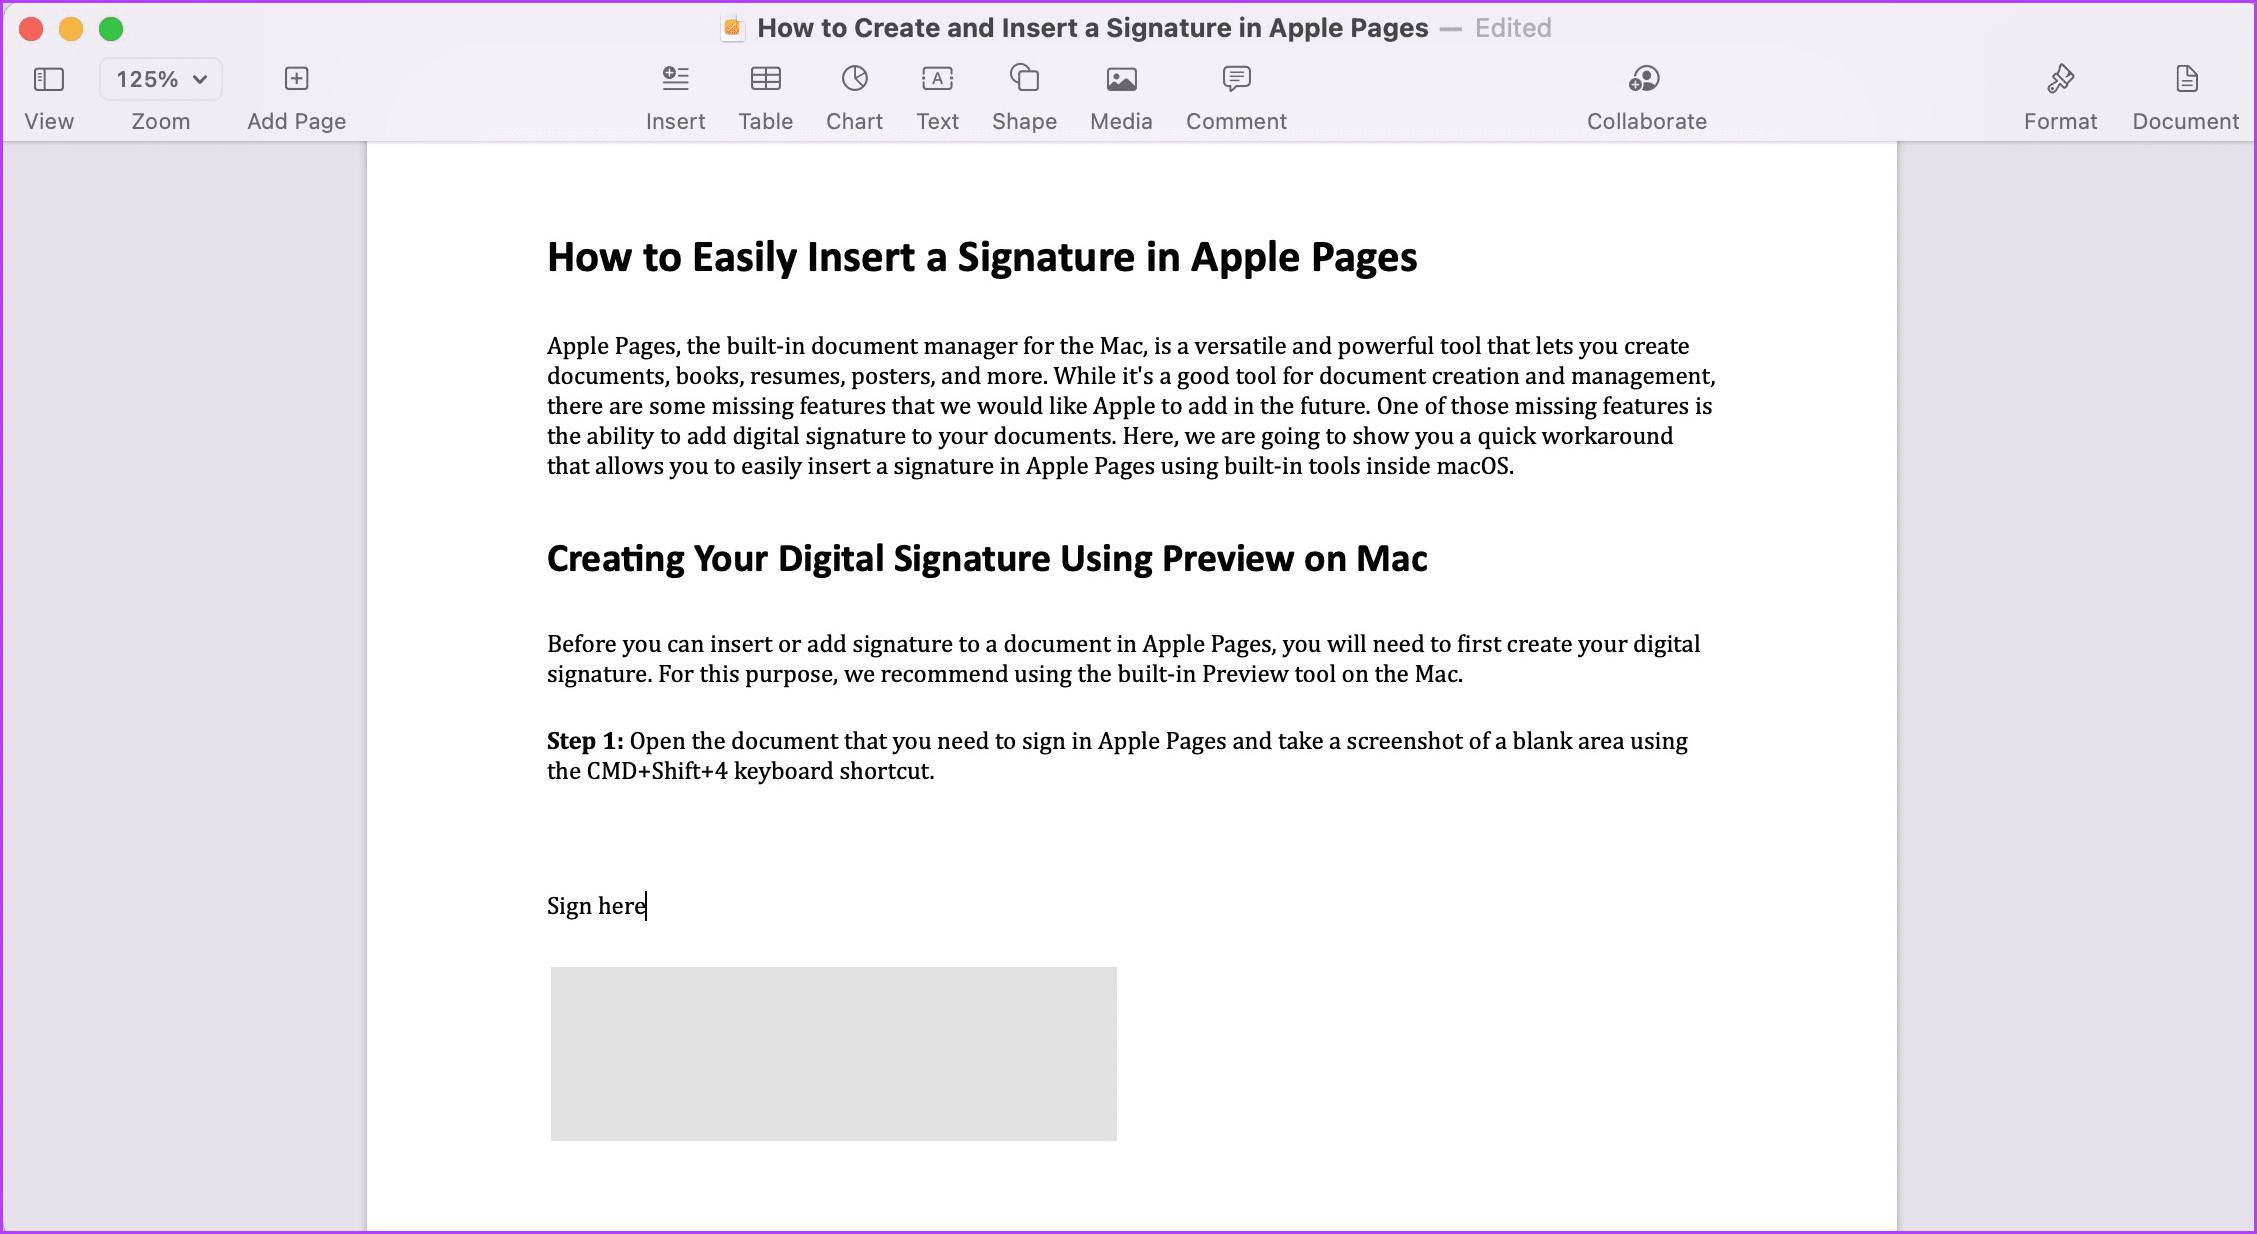
Before you can insert or add a signature to a document in Apple Pages, you’ll need to create your digital signature first. The Preview app on the macOS lets you do that with ease. Step 1: Open the document you need to sign in Apple Pages and take a screenshot of a blank area using the CMD+Shift+4 keyboard shortcut.
Step 2: Double-click on the screenshot to open it in Preview and click on the ‘Show Markup Toolbar’ button.
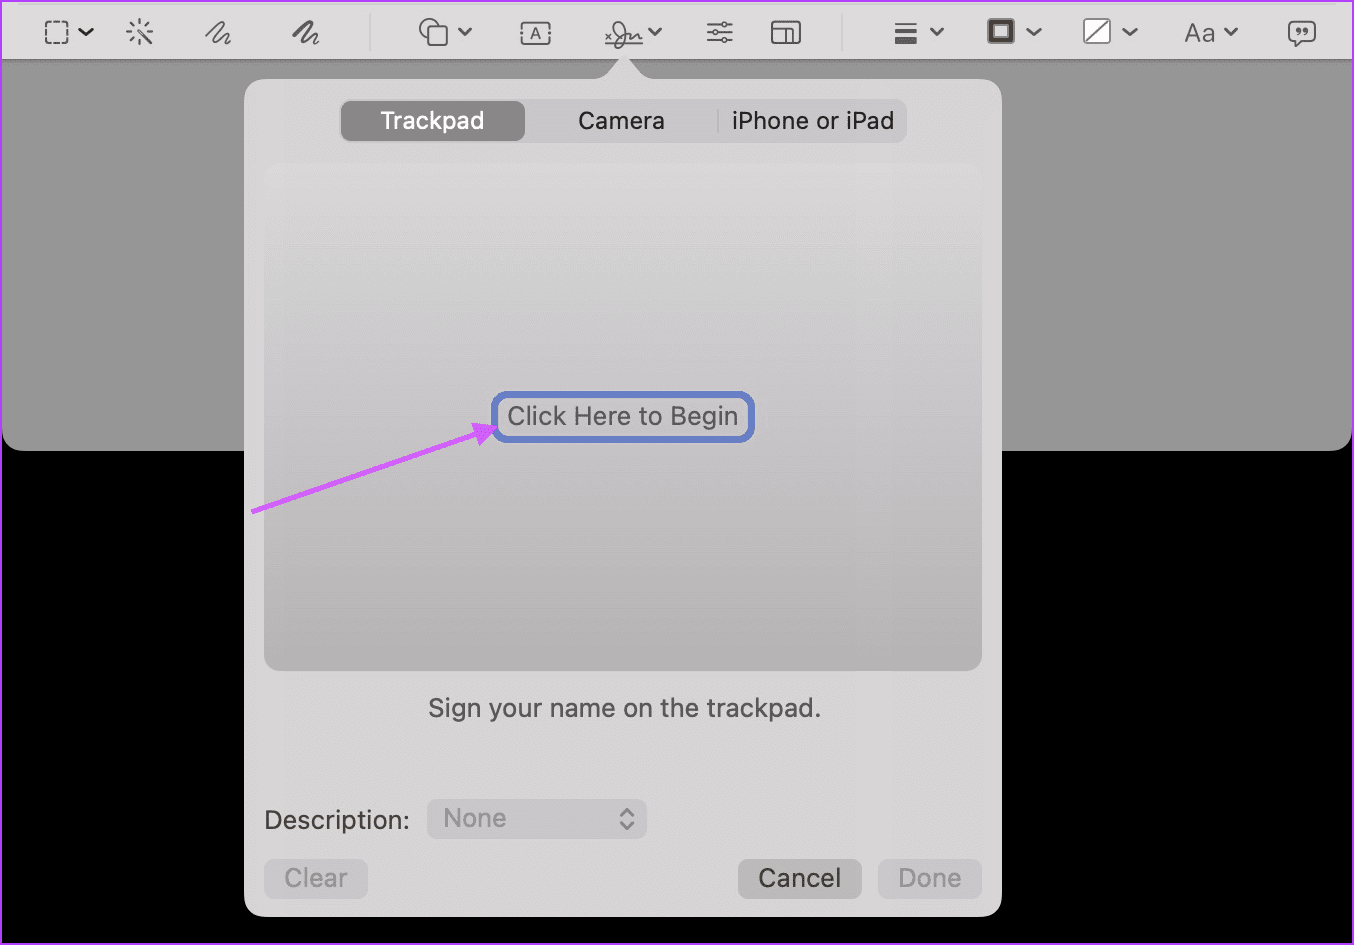
Step 3: Click on the Signature tool, and you will see three different options to create your signature. You can: – create your signature using the trackpad – create your signature using iPhone or iPad – create your signature using the camera
While we will show all the three methods below, know that it takes a lot of effort to get a clear scan of your signature using your Mac’s camera. You should use this feature only if you have one of the newer Macs that ship with 1080p webcams. Also, ensure that you have good ambient lighting conditions when you use this feature. Similarly, use the second option only if you have both Apple Pencil and iPad. Creating your signature using your finger on iPhone and iPad has almost the same result as you get by using the trackpad. Note that this feature will only work if all the devices are signed in using the same Apple ID.
Create Your Signature Using the Trackpad
Step 1: Click on the ‘Click Here to Begin’ button to get started.
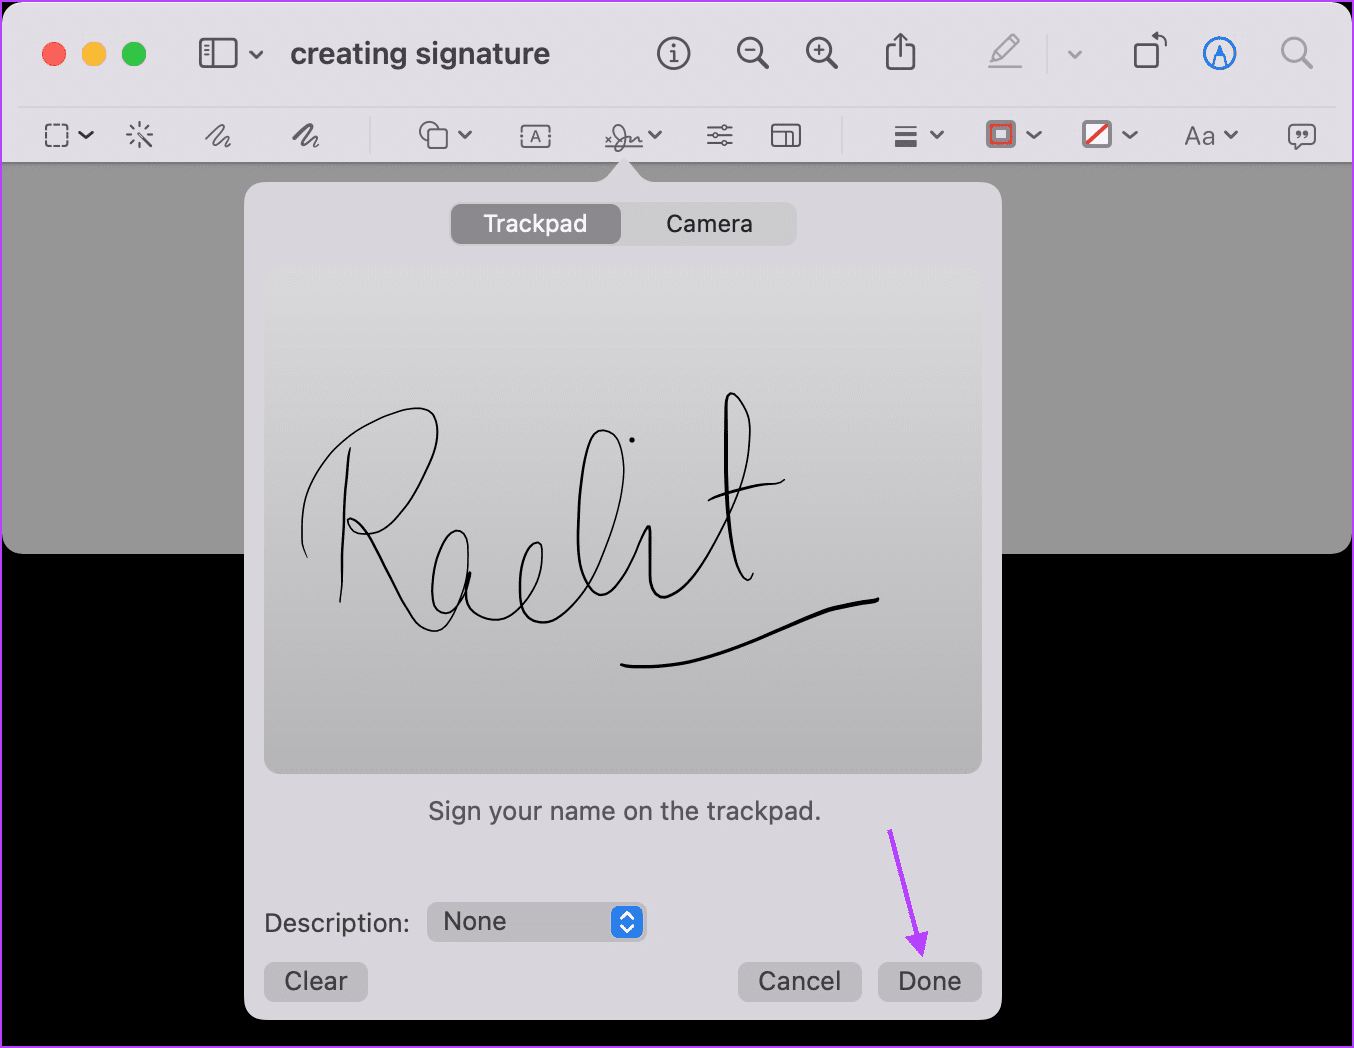
Step 2: Write your signature using the trackpad and press any key. It might take a couple of tries to get a good signature, so keep trying until you are happy with the result. Once you are happy, click on Done to save it.
Create Your Signature Using the Camera
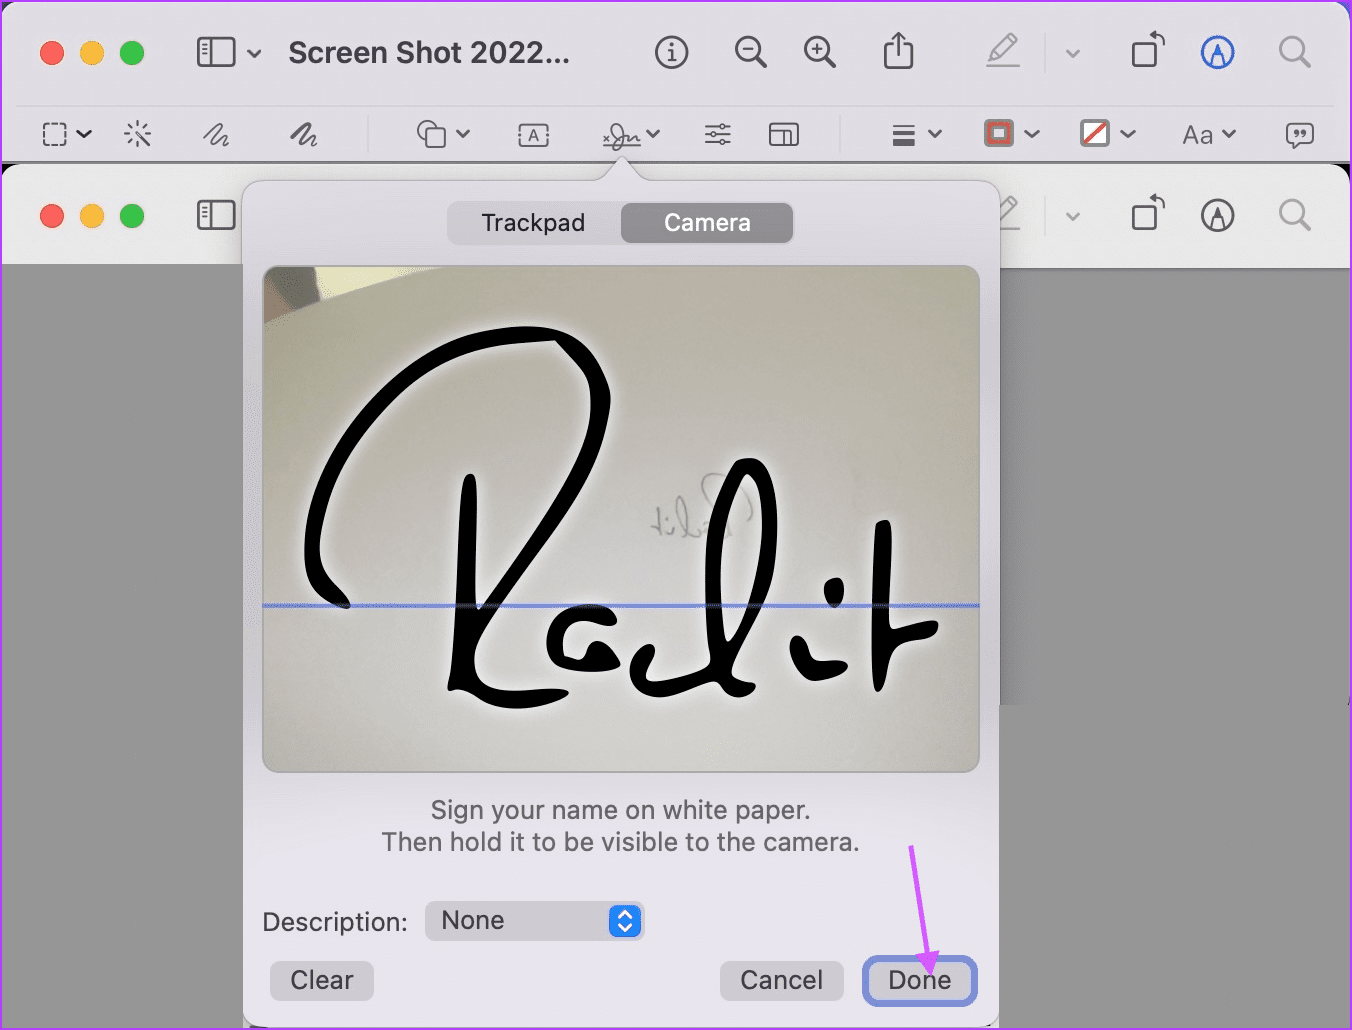
Step 1: Sign your name on a white paper and keep it ready for scanning. Step 2: Select the camera option and then hold the paper such that your signature is visible to the camera. Once the camera recognizes the signature, click on the Done button to save it.
Create Your Signature Using iPhone or iPad
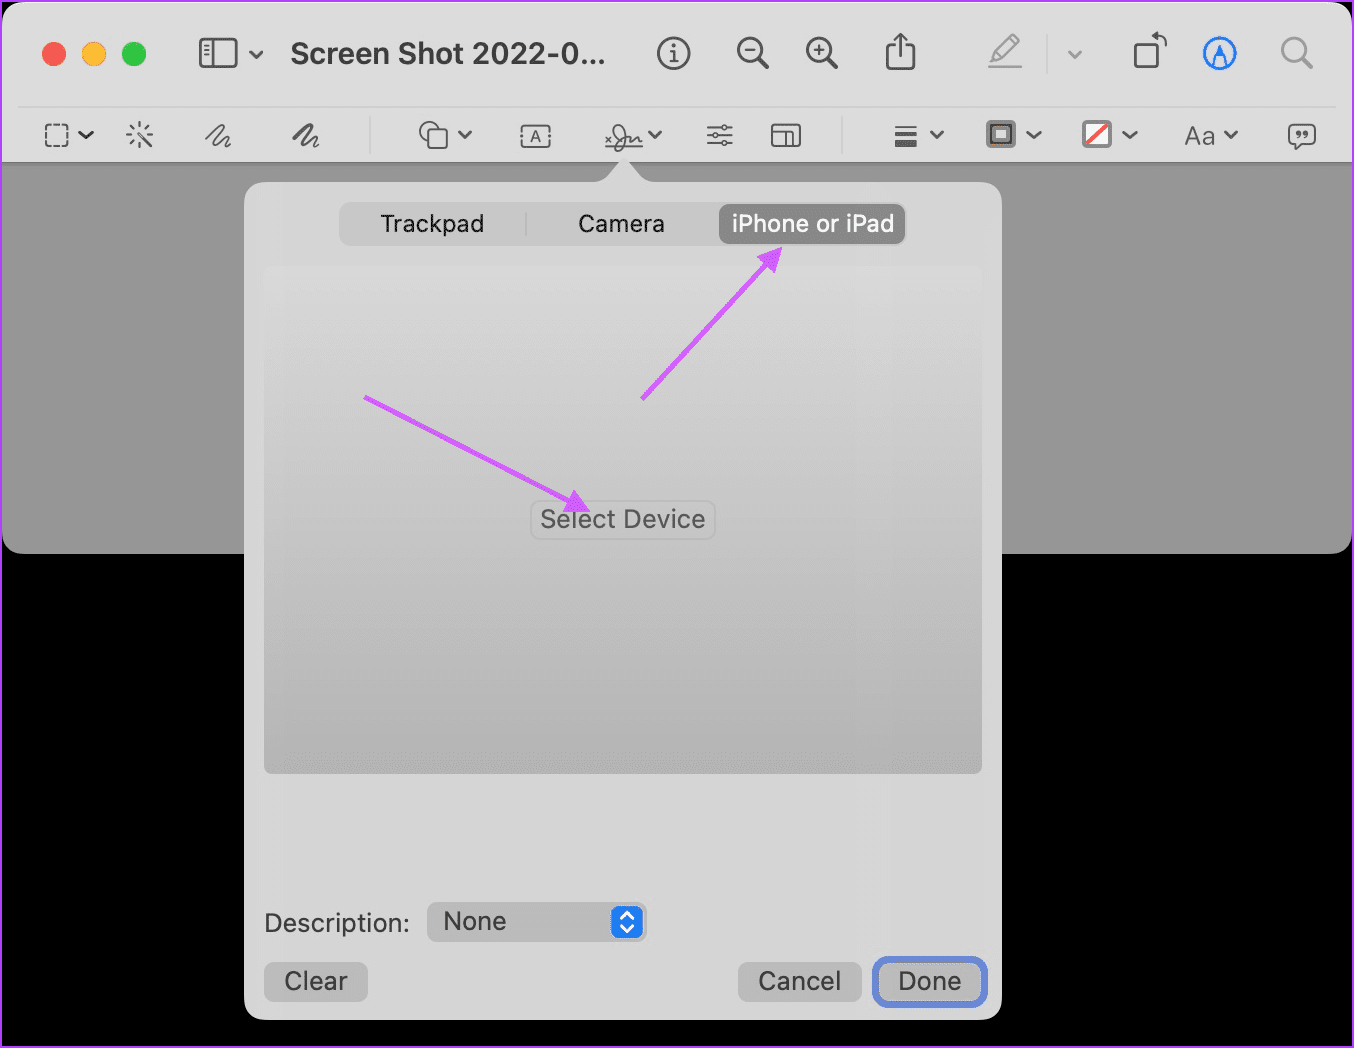
Step 1: Keep your iPhone or iPad nearby and select the ‘iPhone or iPad’ option on Mac. Here, click on the Select Device option and choose your device.
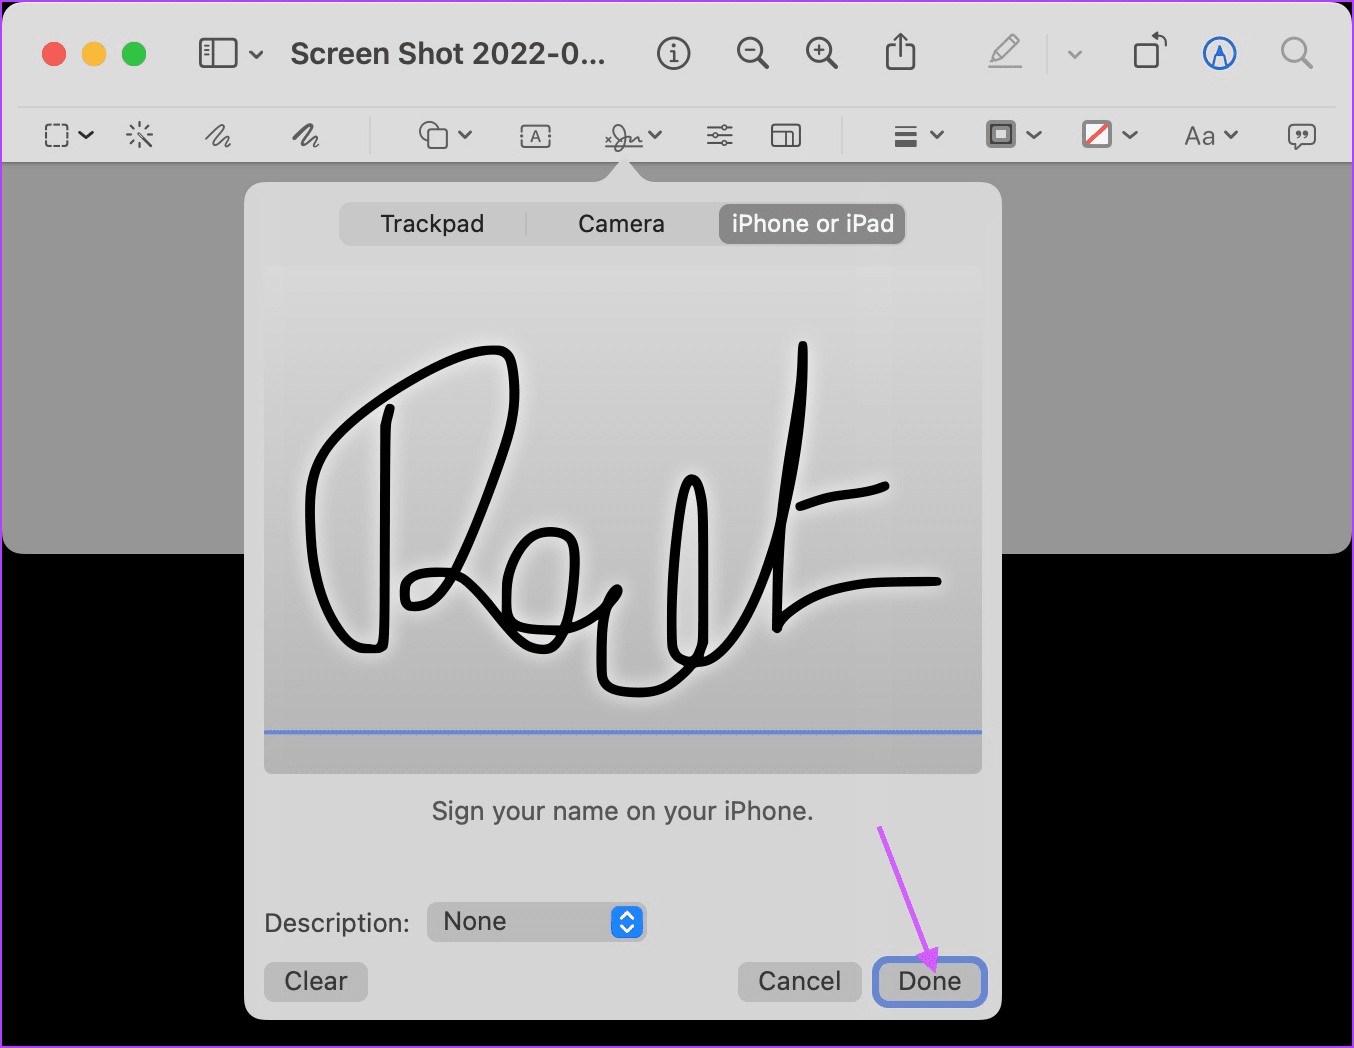
Step 2: A signature field will automatically open on your iPhone or iPad. Use the Apple Pencil or your finger to sign.
Step 3: Once it appears on your Mac, click on the Done button to save it.
Adding the Signature to Screenshot
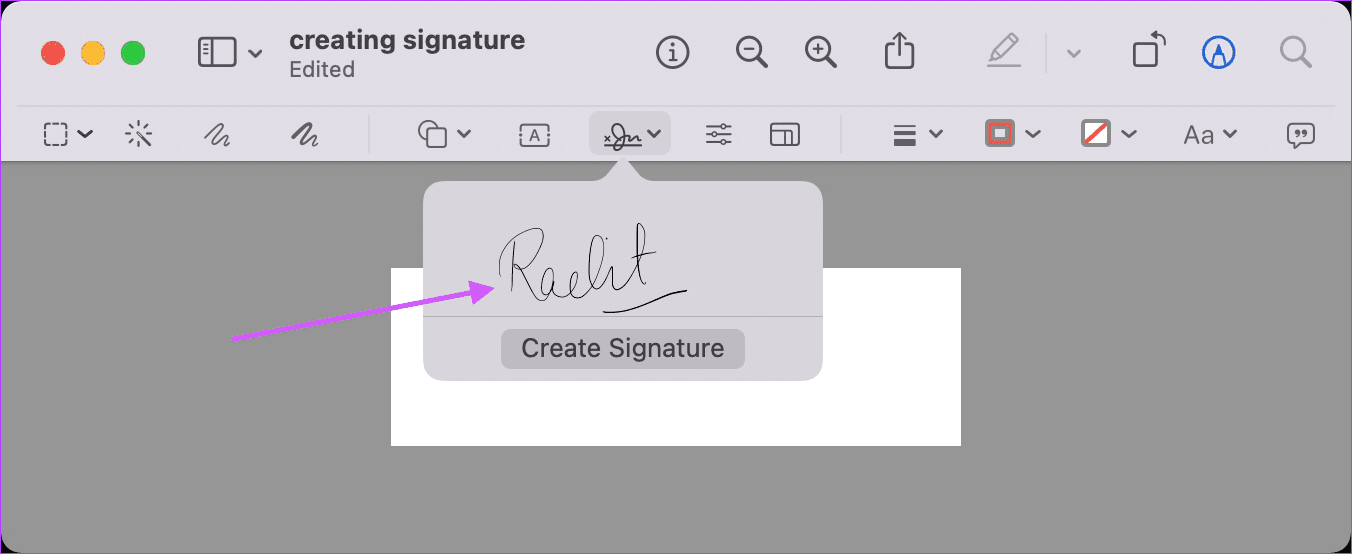
Step 1: Click on the Signature tool and then on the saved signature to add it to the screenshot.
Step 2: Use the boundary markers to resize the signature and save it when you are happy with the result.
Insert Your Signature in Apple Pages
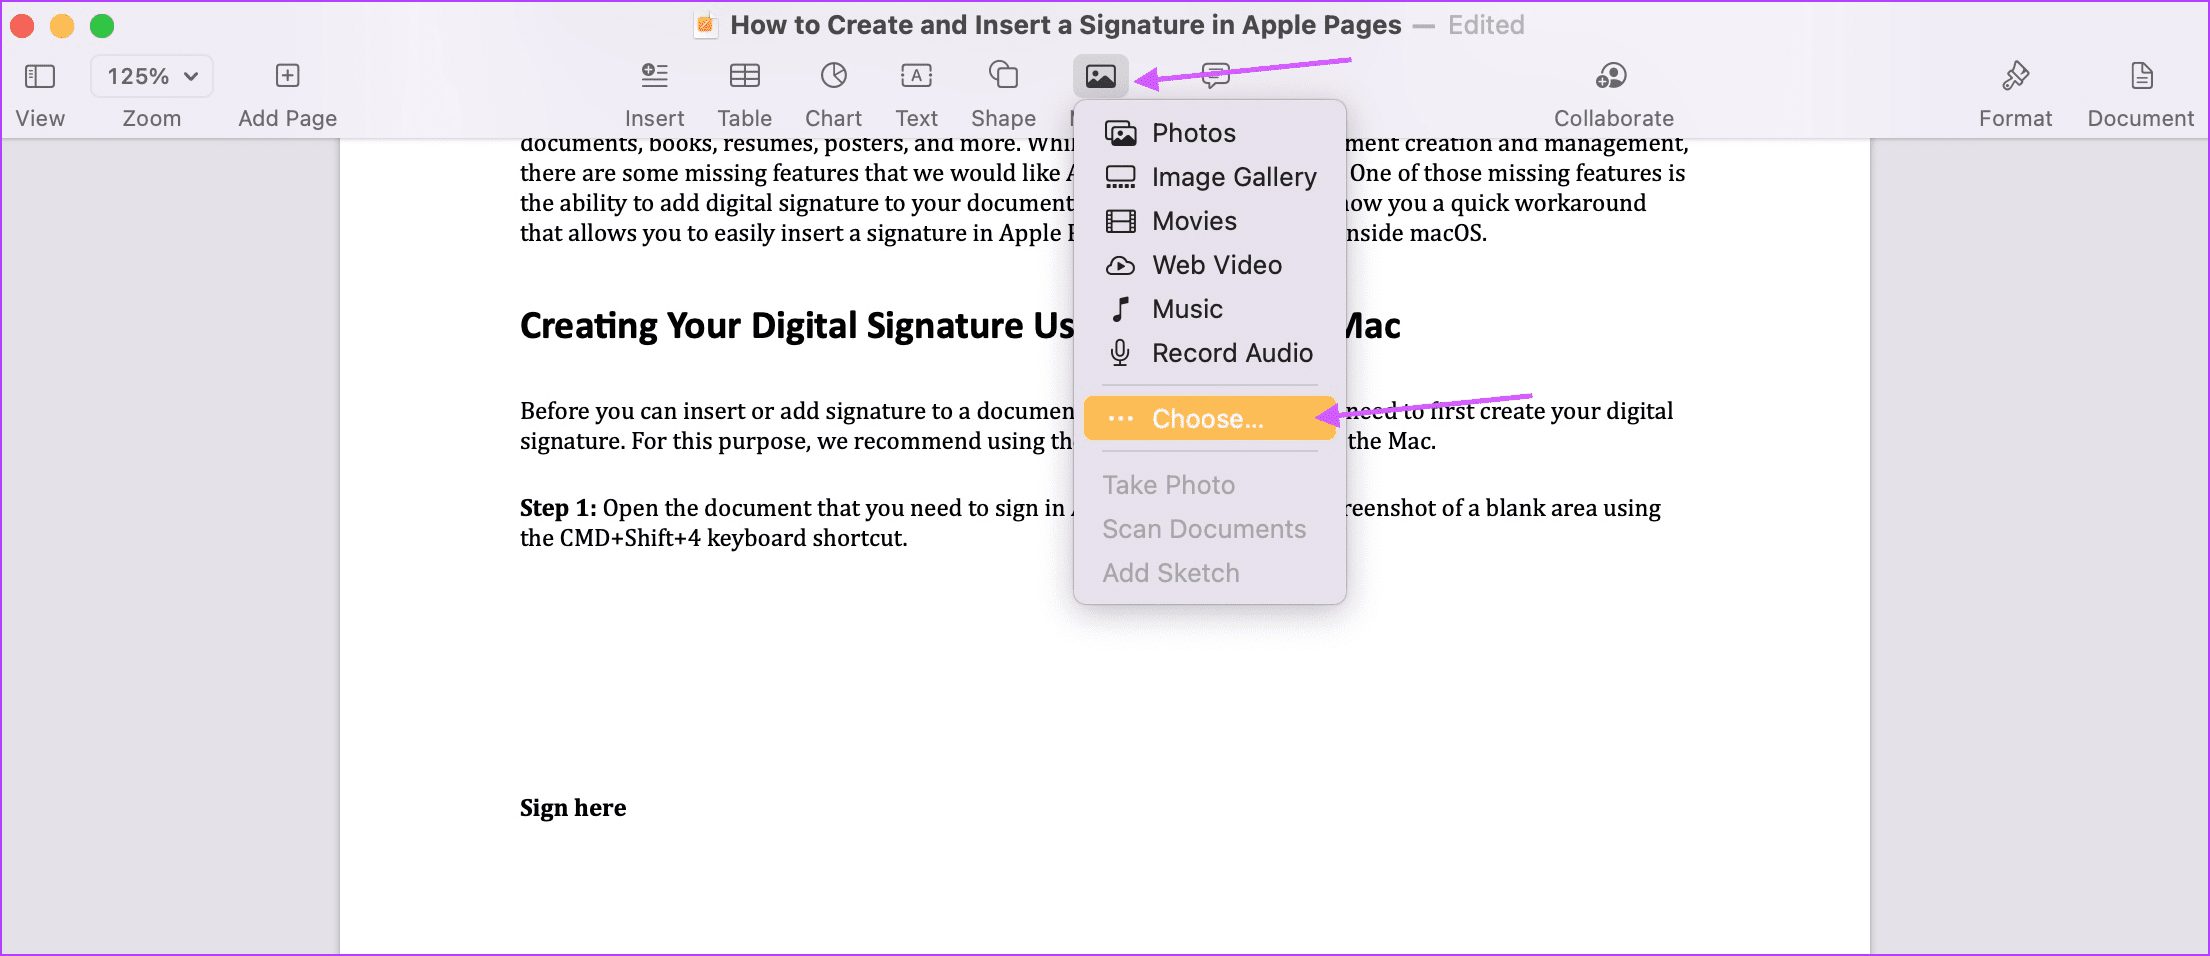
Now that you have created your signature, follow the steps below to add it to your Apple Pages document. Step 1: Open the document in Apple Pages and place the cursor where you want to insert your signature. Here, go to Media > Choose.
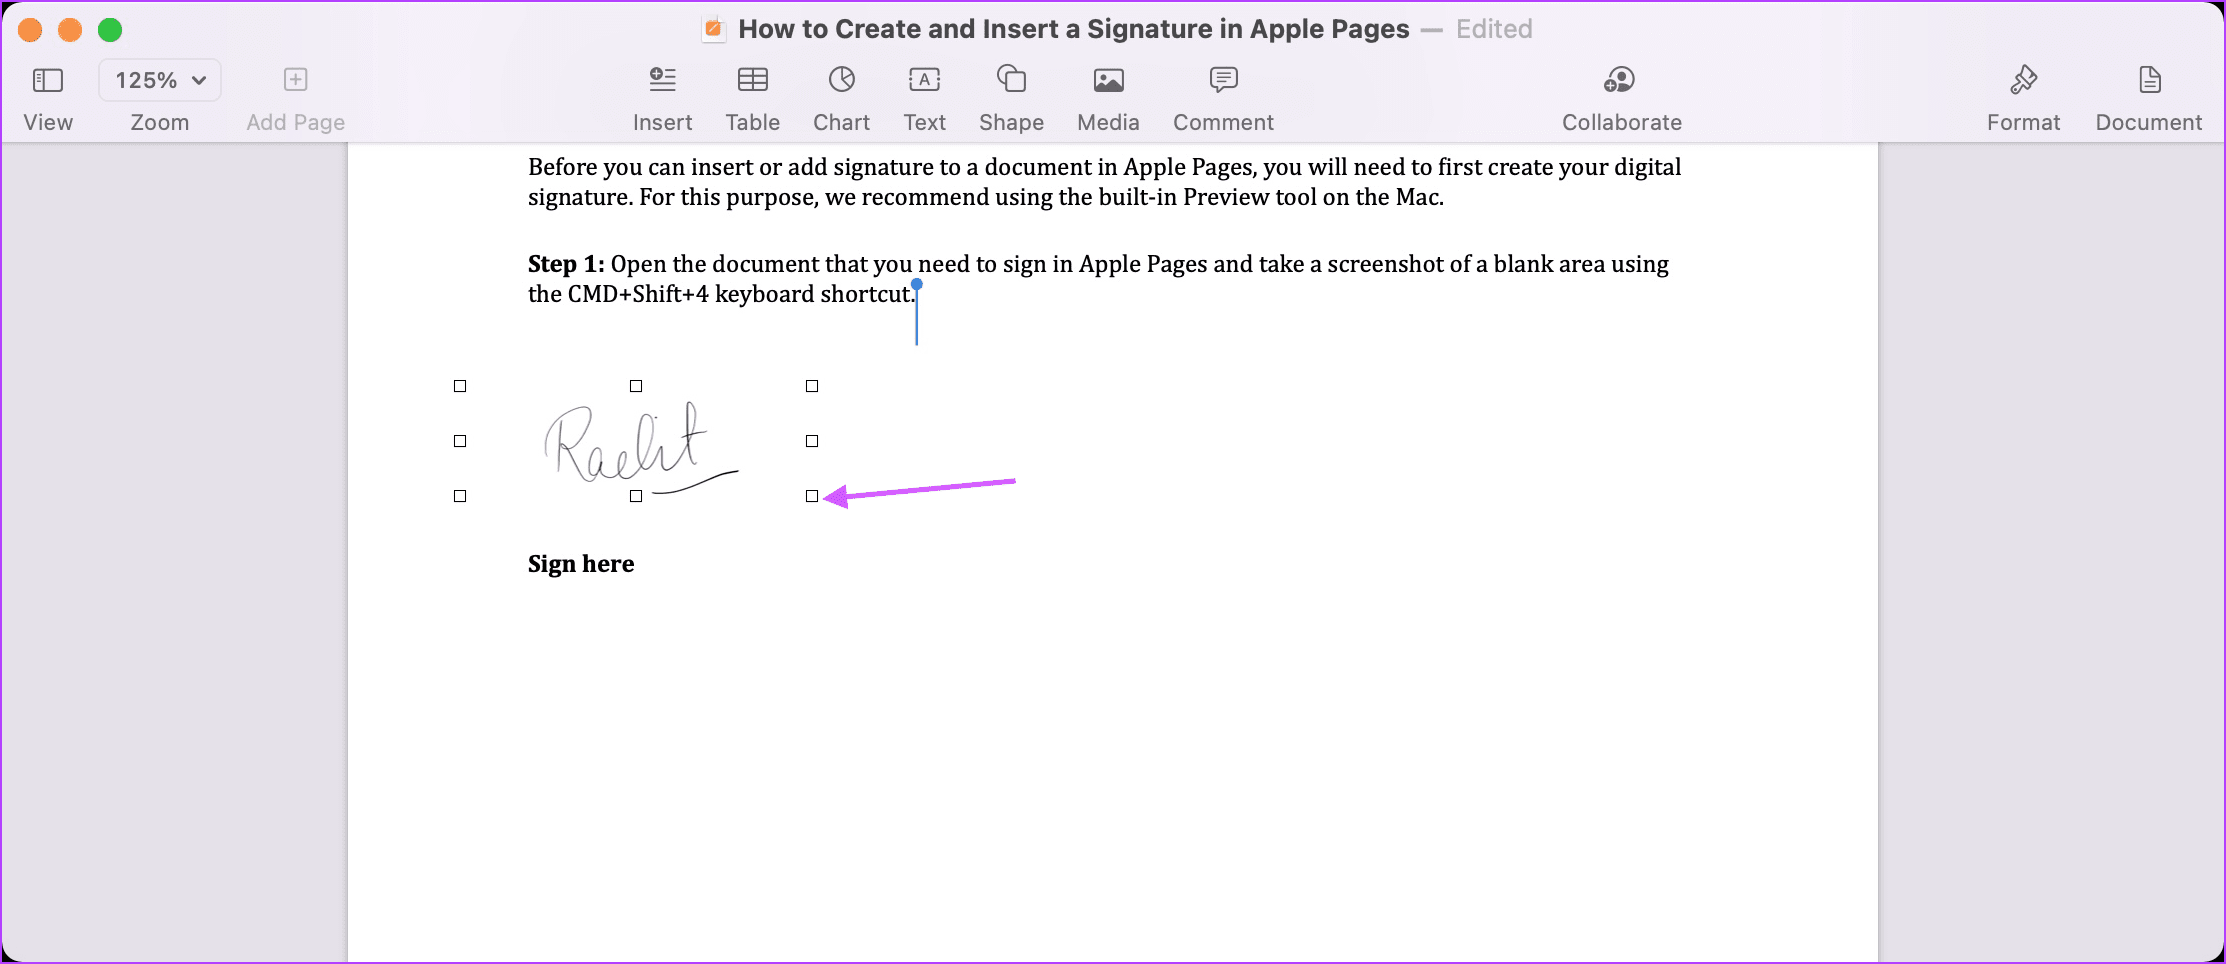
Step 2: Select your signature file and click on the Insert button.
Step 3: Use the resize handle-bars to resize your signature. You can also drag the signature to adjust its position. Save the document when you are happy with the placement.
Sign Your Documents in Apple Pages With Ease
While Apple Pages does not have a built-in signature option, you can easily add your signature to any document using the above steps. The best part is that you have to create your signature just once. After that, you only have to insert it in Apple Pages, whenever required. Later, convert your Apple Pages document into a PDF document before sharing to ensure the security of your signature. The above article may contain affiliate links which help support Guiding Tech. However, it does not affect our editorial integrity. The content remains unbiased and authentic.
