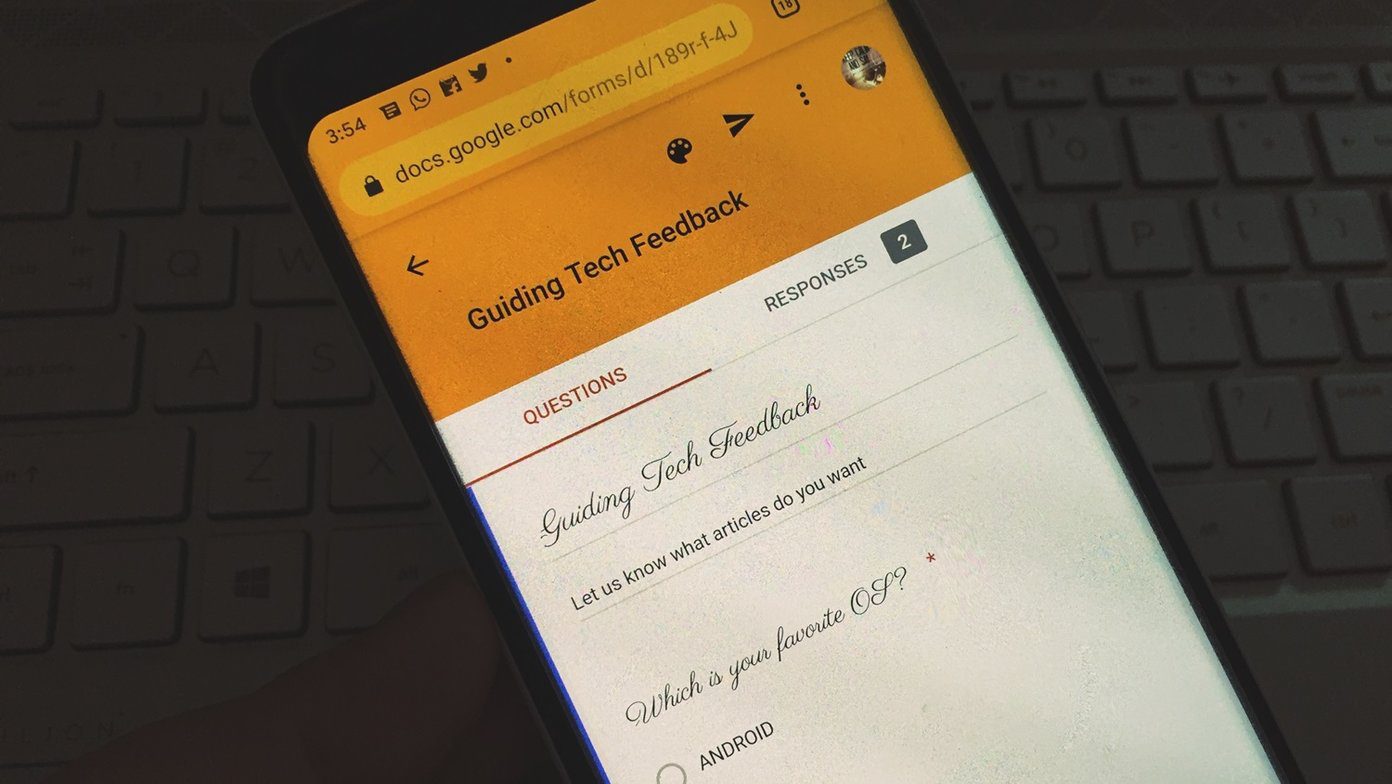
RSVP-ing gives an event organizer or host an idea of how many people would be attending and how to properly plan for their presence. When you send out your event invites, the next thing to expect is your guests’ response confirming their availability (or unavailability) to attend. When they do, you get to know the number of people for whom you need to arrange food, drinks, etc. To ensure that your guests RSVP, however, you have to make it easy for them to do so. And one way to achieve that is by using Google’s popular administration tool, Google Forms. We’ve written a bunch of articles on it already, do check out. We’ll walk you through the steps involved in easily creating an RSVP form for your guests in Google Forms.
Creating an RSVP Invite Using Google Forms
Visit Google forms on your PC or mobile. To use Google Forms, you must have a Google account. If you have no Google account active on your device/browser, you will be required to login or sign up a new account. One of the beautiful things about Google Forms is the presence of preset templates. Tap the RSVP template option on the homepage to begin creating your RSVP form. You can create your custom form but the preset template has the basic things you’ll want on your RSVP form. The parameters it lacks can be manually added. Choosing the preset RSVP template, however, saves you time and hassle.
Customizing Your RSVP Form
Although the preset RSVP template on Google Forms has some basic RSVP questions, you could also customize the form based on your personal preference or the nature of your event. Here’s how to do some basic Google Form customization that you’ll find handy while creating an RSVP Form. Tip 1: Tap the section labelled Event RSVP to rename your RSVP form. An ideal title to give your form would be the Name of the event + RSVP e.g Dog Exhibition RSVP, John’s Birthday RSVP, etc. Tip 2: Tap the section below the title to edit the address and add relevant contact channels (e.g. phone number, email, social media handle, etc.) where your guests can reach you. Tip 3: The RSVP template on Google Forms comes with preset questions. Simply tap a question field to edit it. Tip 4: If you don’t want any of the preset questions on your RSVP Form, simply select the question field to edit it and tap the Trash icon to delete it.
Sharing your RSVP Form Link
When you are done customizing your RSVP Form, its time to share it with people you’d be inviting to your event. Here’s how to send RSVP to your guests on Google Forms.
1. Via Email
You can send your RSVP form directly to the email addresses of people you have invited to your event. Step 1: At the top-right corner of the RSVP Form you just created, tap the Send button. Step 2: On the new pop-up, enter the email addresses of people you want to send the RSVP Form to. Step 3: Albeit optional, you can type in some extra words in the Message section. Step 4: Tap Send to forward the RSVP form to the specified email addresses.
2. Via URL (Links)
Asides from sending your RSVP Form directly to guests via emails, you can also create a link where your form can be accessed over the web. Here’s how. Step 1: Tap the Send button at the top-right corner of your RSVP form. Step 2: Navigate to the Link section of the Send Form window. Step 3: Check the Shorten URL box to create a miniaturized version of your form URL link. Step 4: Hit the Copy button to copy the link to your device’s clipboard. Now you can share the RSVP link with your guests as a text, SMS, or via instant messaging apps like WhatsApp, iMessage, Telegram, etc. You can also include the RSVP link on your event’s physical invite or better yet, convert it to a QR code.
3. Via Social Media
You can also share your RSVP form link to your social media channels. You should use this feature if you are planning a public event and you need to have an idea of potential attendees. Step 1: Tap the Send button at the top-right corner of the form. Step 2: Tap the Facebook icon to share your RSVP to your Facebook wall or page or tap the Twitter icon to share on Twitter.
Checking RSVP Forms Response
You can also manually check the total number of guests who have RSVP’d for your event. Step 1: Visit the Google Forms dashboard on your computer. Step 2: Tap the RSVP Form whose response you want to view. Step 3: Tap Responses to navigate to the response section. Step 4: You will be presented a summary of all the responses to your RSVP form. Step 5: To let Google automatically notify you of new responses to your form, tap the menu icon at the top-right corner of the Responses section. Step 6: Select ‘Get email notifications for new responses’. Now you will get notified for every response to your RSVP form.
Plan Your Events Right with Google Forms
With proper planning comes a successful event. To plan right, you also have to get your RSVP done right. Set up your event’s RSVP with Google Forms and use the responses to properly plan your event. Next up: Do you know you could save each Google Form response to different sheets automatically based on the replies of your guests? Check out the different ways to get it done in the article linked below. The above article may contain affiliate links which help support Guiding Tech. However, it does not affect our editorial integrity. The content remains unbiased and authentic.


