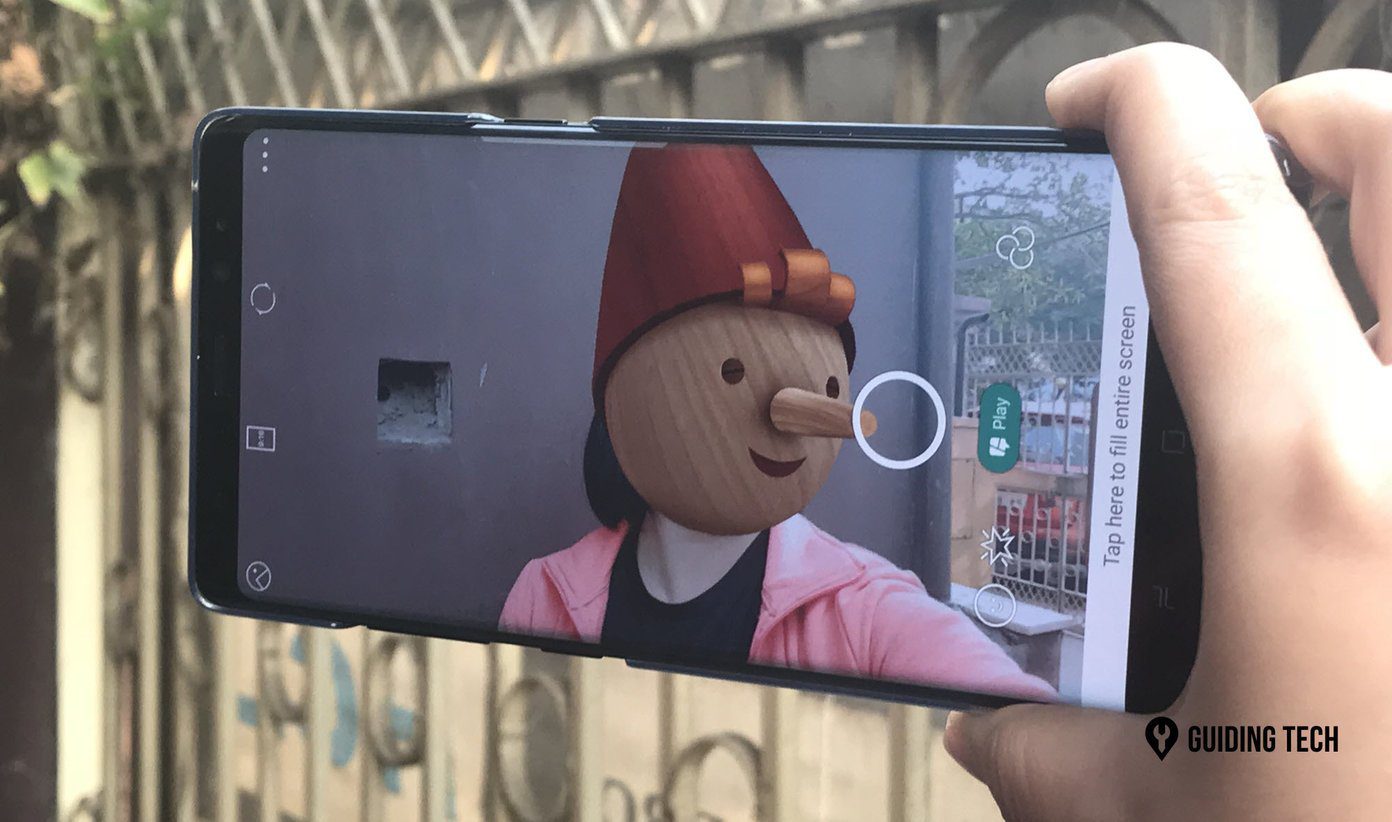
It is possible with the help of Snapchat’s desktop app known as Snap Camera. You cannot publish to your Snapchat account from the desktop app. You can use it only to add a filter to your photos or videos. Let’s see how to make your formal meetings informal by using funny Snapchat filters in your Zoom video conferences.
How to Add a Filter to Zoom Meeting
To use the Snapchat filters for your Zoom meeting, you need to install the Snap Camera app, run it in the background, and change the camera app in Zoom. Here are the steps in detail:
Step 1. Install Snap Camera App
Download the Snap Camera app from the link given below. The minimum requirements for the Snap Camera to work are Windows 7 SP1 (64 bit) or newer and MacOS 10.11 or newer. Download Snap Camera Open the above link. Scroll down on the page and check the box next to ‘I have read the …’ Enter your email address and click the download button for your required computer. Once the file has been downloaded, click on it to install it. Follow the on-screen instructions to complete the installation process.
Step 2. Run the App
When the Snap Camera app is successfully installed, launch it. You will see the live camera preview. Click on any filter from the list available at the bottom. Now, to use the filters in other apps such as Zoom, Hangout, Microsoft Teams, you need to keep it running in the background. For that, minimize the app by clicking on the minimize icon. Do not close the app. If you see No available camera input, close the app and open it again. Or, click on the settings icon at the top-right corner and select the appropriate camera from the list. Note: The Snap Camera app will continue to use the camera when the app is running in the background. If you aren’t using it, close the app.
Step 3. Change Camera in Zoom
Lastly, you need to change the input camera in your video app. In this case, Zoom. The steps differ depending on whether you have joined a meeting or not. Let’s check for both of them. Note: Keep running the Snap Camera in the background to use its filters.
Method 1. Change Camera Before Joining a Meeting
Step 1: Launch the Zoom app on your PC. If you haven’t joined a meeting yet, click on the settings icon at the top-right corner. Step 2: Click on the Video tab from the left panel. Then, choose Snap Camera from the drop-down box available next to Camera. Close the window. Now, your meetings will use the video from the Snap Camera app. If you are using a filter from Snap Camera, it will show up in the Zoom meeting. Note: To remove the filter, repeat the steps, and change the camera to the other one listed in the Camera drop-down box.
Method 2. Change Camera In a Meeting
If you are part of a meeting and you decide to surprise your teammates, you can change the camera instantly. For that, click on the small up arrow next to Start Video in your meeting. Choose Snap Camera from the list. That’s it. Whatever filter is active on your Snap Camera will reflect in your ongoing Zoom meeting. Open the Snap Camera app to change the filter. To remove the filter, select a different camera when you click on the small up arrow.
Fix: Snapchat Filters Not Working in Zoom
In case the filters do not work in the Zoom app, close the Zoom app, and then try again. You should also try restarting your PC. If the issue continues, uninstall Snap Camera first followed by Zoom. Then, install them again.
Tips and Tricks to Use Snap Camera on PC
Here are some useful tips to make the best use of the Snap Camera on your PC.
Share Filters
The Snap Camera app is loaded with many cool filters. Sometimes, we discover a unique filter that we want to share with others. For that, hover your mouse over the filter. Click on the three-dot icon and select the Copy lens link. Share the link with your friend. You can share it on the chat in Zoom too.
Favorite Your Filter
If you use a certain filter frequently, you can add it to your list of favorites. For that, hover your mouse over the filter. Then, click on the star icon. To view the starred items, click on the start icon present at the top-left corner of the Snap Camera app.
Create Hotkeys
For faster access to your filters and other functions in the Snap Camera app, such as taking photos, starting/stopping recording, etc. you can create hotkeys for them. Hotkeys are a combination of certain keys that you need to press to start the function. To add a hotkey for functions, click on the settings icon at the top-right corner of the Snap Camera app. Then, scroll down and enter your hotkeys in the available boxes. That is, press the keys together. To create a hotkey for a filter, click on the filter, and you will see the Custom trigger option on the video preview window. Enter the hotkey. Now, whenever you want to access the filter, press the hotkeys on your keyboard.
Be Careful
Adding Snapchat filters to your videos is quite entertaining. But, we would suggest limiting its use in the informal meetings as not everyone will like the idea of talking to a banana or a potato. So, use it once in a while when you know other participants would be okay with it. Next up: Can you use Google Duo for video meetings? Find out how Zoom differs from Google Duo using the next link. The above article may contain affiliate links which help support Guiding Tech. However, it does not affect our editorial integrity. The content remains unbiased and authentic.


