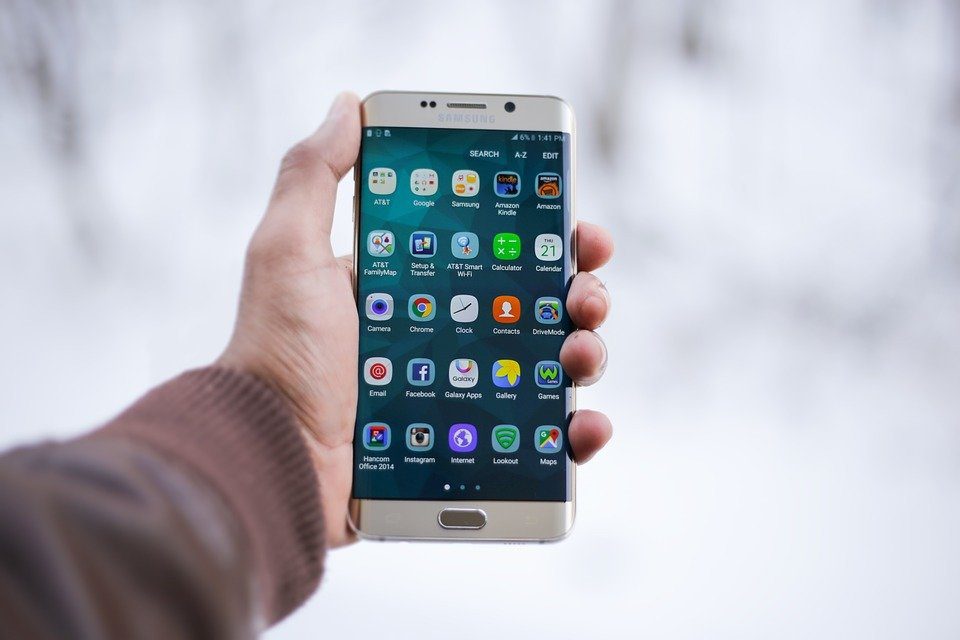
notifications converge to provide users with a screen where they can easily see what is going on on their iPhones at a glance. Now, with iOS 6, Notification Center is already one of iOS’ great features and comes with a few new options – Do Not Disturb and Facebook integration – that make it even more useful. This also has turned Notification Center into a much larger entity, composed of three main elements: Twitter and Facebook integration, app notifications and Do Not Disturb. Let’s take a look at how to set up and adjust Notification Center on your iPhone, iPod Touch or iPad on iOS 6.
Twitter and Facebook Integration
Twitter and Facebook integration allows users to tweet and post to their Facebook profiles right from Notification Center with just one tap. Step 1: To integrate Twitter and Facebook into Notification Center go to Settings and scroll down until you see the Twitter and Facebook menus. Tap on each and sign up to your Twitter and Facebook accounts. This will enable the “Tap to Tweet” and ”Tap to Post” buttons on Notification Center.
App Notifications
Most iPhone apps can support Notification Center, and each of them can be adjusted to display information in different ways. Step 2: To set up and adjust app notifications in Notification Center, go to Settings > Notifications. There, look for the app which notification settings you wish to adjust, make sure it is under “In Notification Center” and tap on it. For this example we will use the Messages app. Step 3: Within the app notifications’ settings screen you will be able to choose from a series of options. For example, you will be able to choose where would you like notifications for that app to show on the home screen, if at all. You can also choose the number of maximum notifications that you would like that app to display. You can also chose if you would like the app to show badges or not and if you would like to see its notifications on the Lock Screen as well. Choose according to your tastes and go to your Lock Screen and to Notification Center to test how each of your choices look.
Do Not Disturb
Do Not Disturb allows users to adjust the way incoming calls and alerts behave, allowing them to silence them or to adjust their notifications during scheduled times. Step 4: Head to Notification Center by tapping Settings > Notifications > Do Not Disturb. Once on this screen you will be able to adjust three important settings. You can schedule from what time to what time you would like for Do Not Disturb to be active. Here you can also choose who to allow calls from and if repeated calls will override Do Not Disturb.
Conclusion
With all these controls and options, users are now able to set up and adjust how calls and app notifications behave with great detail. Head to the comments to tell us which app notifications are essential for you and what are your ideal settings for them. The above article may contain affiliate links which help support Guiding Tech. However, it does not affect our editorial integrity. The content remains unbiased and authentic.


