Many Windows users complain about the camera not working in Google Chrome. Several factors can prevent the camera from working in Google Chrome, including conflicting camera apps, lack of necessary permissions, outdated camera drivers, and more. Here’s how to fix your camera in Google Chrome on Windows 11.
1. Close Other Camera Apps
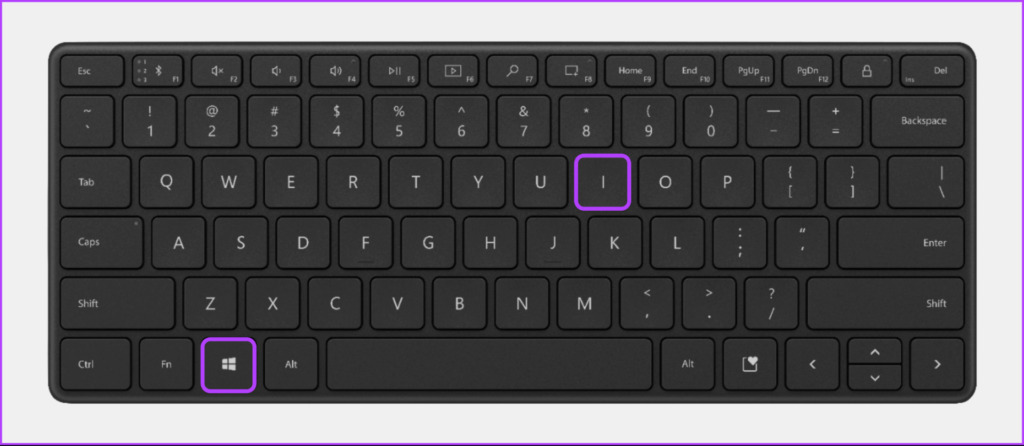
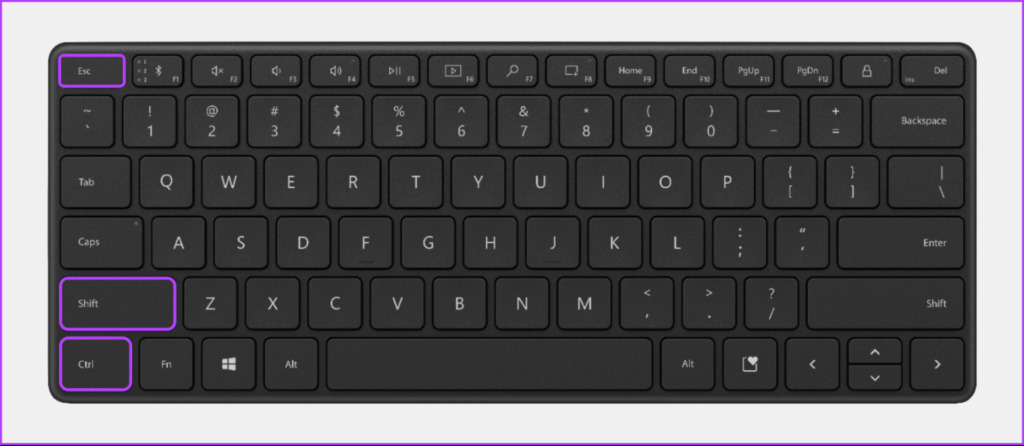
If the camera is not working in Google Chrome check if other apps are using the camera in the background and close them. These apps might be the reason why Chrome can’t use the camera. Settings app lets you view which app is using your camera. After you find the app using the camera, you can close it using the Task Manager. Follow these steps: Step 1: Press the Window + I keys to open the Settings app. Step 2: Click on the Security & Privacy option from the left sidebar. Step 3: On the right hand side, head to App Permissions section and click on the Camera option. Step 4: You’ll get the apps that can or can’t access the camera. The one that uses camera will show the ‘Currently in use’ message below its icon. As per the screenshot, WhatsApp was using the computer’s camera. Step 5: Press the Ctrl + Shift + Esc keys to open the Task Manager. Step 6: When the Task Manager opens, select the process for the app that’s using your camera and click on End Task.
2. Check if Chrome Has Camera Access
Google Chrome needs necessary permissions to use your computer’s camera. If you haven’t allowed that, you can’t use the camera in Google Chrome. Here’s how to check if Google Chrome has access to the camera on your Windows 11 PC: Step 1: Press the Window + I shortcut to open the Settings app. Step 2: Click on the Security & Privacy option from the left sidebar. Step 3: On the right hand side, head to App Permissions section and click on the Camera option. Step 4: Scroll down to check if the toggle for ‘Let desktop apps access your camera’ is turned on. Turn on the toggle to enable it, if it wasn’t. If Google Chrome still can’t use the camera, you may run the Camera troubleshooter in Windows.
3. Run the Camera Troubleshooter
The dedicated camera troubleshooter in Windows can detect problems with your computer’s camera. It will also apply relevant fixes to repair your computer’s camera if any issues are detected. Here’s how to access and use the camera troubleshooter on your Windows 11 PC: Step 1: Press the Window + I shortcut to open the Settings app. Step 2: Head to System and click on the Troubleshoot option. Step 3: Under Troubleshoot, click on the Other Troubleshooters option. Step 4: Scroll down down to the Other section and click on the Run button next to Camera. Step 5: In the Get Help window, answer all the questions by selecting the Yes or No options to resolve the camera-related issues. Ideally that should set things in order and let Google Chrome use the camera on your computer. But if it still can’t, check the next solution.
4. Check Site Permissions
Besides letting Google Chrome use the camera, you’ll also need to permit a particular website to access it as well. Since these granular permissions allow whether websites can or cannot access camera, it’s a good idea to check their status in Chrome. You’ll need to change Google Chrome’s privacy and security settings and allow the sites to use your camera. Here’s how to change a website’s camera permissions in Google Chrome: Step 1: Press the Windows + S keys and type Google Chrome. Then, from the result for Google Chrome, click on Open. Step 2: When Chrome opens, visit the website where in you want to use your computer’s camera. Then, click on the little padlock icon next to the URL in the address bar. Step 3: In the menu that appears, click and enable the Camera toggle. This will allow Google Meet to access your computer’s camera. If you’re having trouble using the camera on multiple websites, you can follow the steps listed below to check permissions for all the websites you’ve visited: Step 1: Type chrome://settings/content/camera in Chrome’s address bar and press Enter on your keyboard to open the camera Settings. Step 2: Click the drop-down list located below Camera to select the camera you want to use. Then, click on the website that’s having camera issues from the list of websites not allowed to use your camera. Step 3: On the page that appears, click on the drop-down list beside Camera and select Allow.
5. Clear Site Cookies and Cache
Outdated cookies, cache, and other website data can also be the reason why Google Chrome cannot connect to the camera on your Windows 11 computer. We recommend clearing cookies and cache in Google Chrome before using your computer’s camera. Here’s how you can clear cookies and other site data in Google Chrome: Step 1: Press the Windows + S keys and type Google Chrome. Then, from the result for Google Chrome, click on Open. Step 2: Type chrome://settings/privacy in the address bar and press Enter on your keyboard to open Chrome Settings. Step 3: Under the ‘Privacy and security’ section, click on Clear browsing data. Step 4: When a dialog appears, click on the Time range drop-down and select All time. After that, select the checkbox next to ‘Cookies and other site data’ and ‘Cached images and files.’ Then, click on the blue Clear data button.
6. Update or Reinstall Camera Drivers
The Windows 11 may suffer from hardware-related issues due to unstable or outdated drivers which prevent it from working in Google Chrome. So it’s a good idea to update or reinstall the camera drivers on your computer. Here’s how you can easily update or reinstall the camera drivers on your Windows 11 PC: Step 1: Right-click on the Start button and select Device Manager from the list. Step 2: Look for the Cameras entry in the Device Manager window and double-click to expand it. Step 3: Under Cameras, right-click on ‘HD User Facing’ and select Update Driver. Step 4: On the Update Drivers window, click on ‘Search automatically for drivers.’ Step 5: Let it search for the latest camera drivers. if any driver updates are available. It will find and install it on your computer. If you see a message stating that your computer has the best drivers installed, you can click the ‘Search for updated drivers on Windows Update’ option or close the window. Alternatively, you can also check your laptop or camera manufacturer’s website for the latest camera drivers. Step 6: If you can’t find any new drivers for the camera, right-click on ‘HD User Facing’ and select ‘Uninstall device.’ Step 7: In the confirmation dialog that appears, click on Uninstall. Step 8: Restart your PC. After you restart your PC, Windows 11 will automatically search for the relevant camera drivers and install them for you.
7. Reinstall Google Chrome
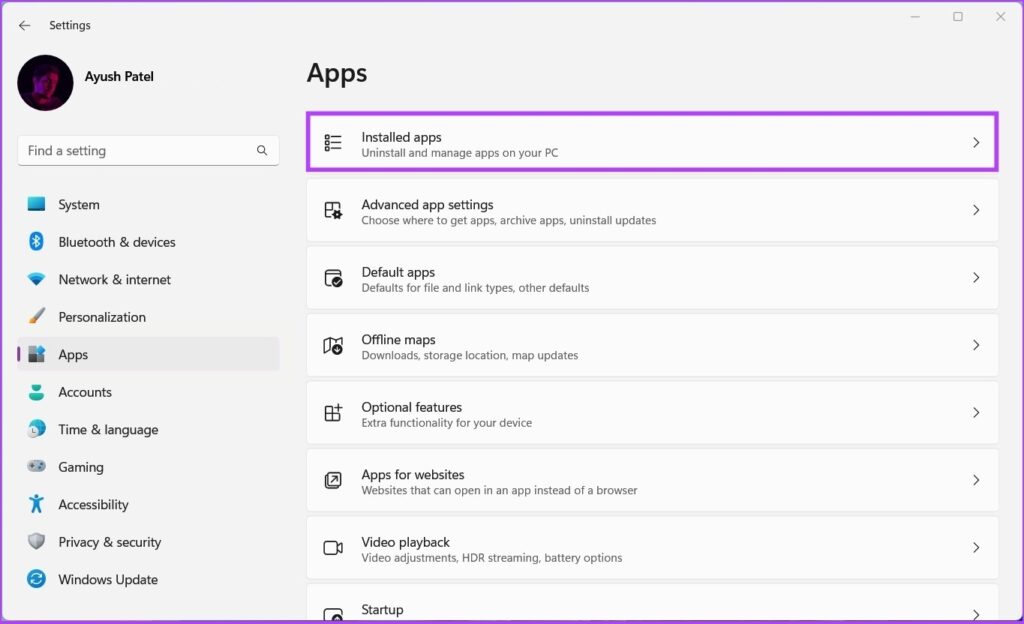
If none of the previous solutions helped you resolve your camera woes in Google Chrome for Windows, your best shot at fixing this issue would be to remove Google Chrome and reinstall it from scratch. Reinstalling Google Chrome will not delete your saved passwords, bookmarks and other browser preferences. That’s only possible if you logged into the browser with your Google Account and synced those details. Here’s how you can reinstall Google Chrome on your Windows computer: Step 1: Press the Windows + I keys to open the Settings app. Step 2: When the Settings app opens, click on the Apps option in the left sidebar. Step 3: On the Apps page, click on the option that says Installed apps from the right pane. Step 4: Type Google Chrome in the search box at the top and press Enter. Step 5: Click the horizontal three dots menu next to the Google Chrome result. Then, select Uninstall. Step 6: After uninstalling Google Chrome, click the download button below to download the Google Chrome installer on your computer. Download Google Chrome for Windows Step 7: After the download completes, open the ChromeSetup.exe file and click on Run when a Security Warning dialog appears. Then, wait for Google Chrome to finish installing on your computer.
Get the Camera Up and Running in Google Chrome
The solutions mentioned above will help you get your computer’s camera working in Google Chrome again. After that, you can engage in video calls easily. But if your camera appears blurry, refer to our guide on fixing blurry camera or webcam on Windows 11. The above article may contain affiliate links which help support Guiding Tech. However, it does not affect our editorial integrity. The content remains unbiased and authentic.
