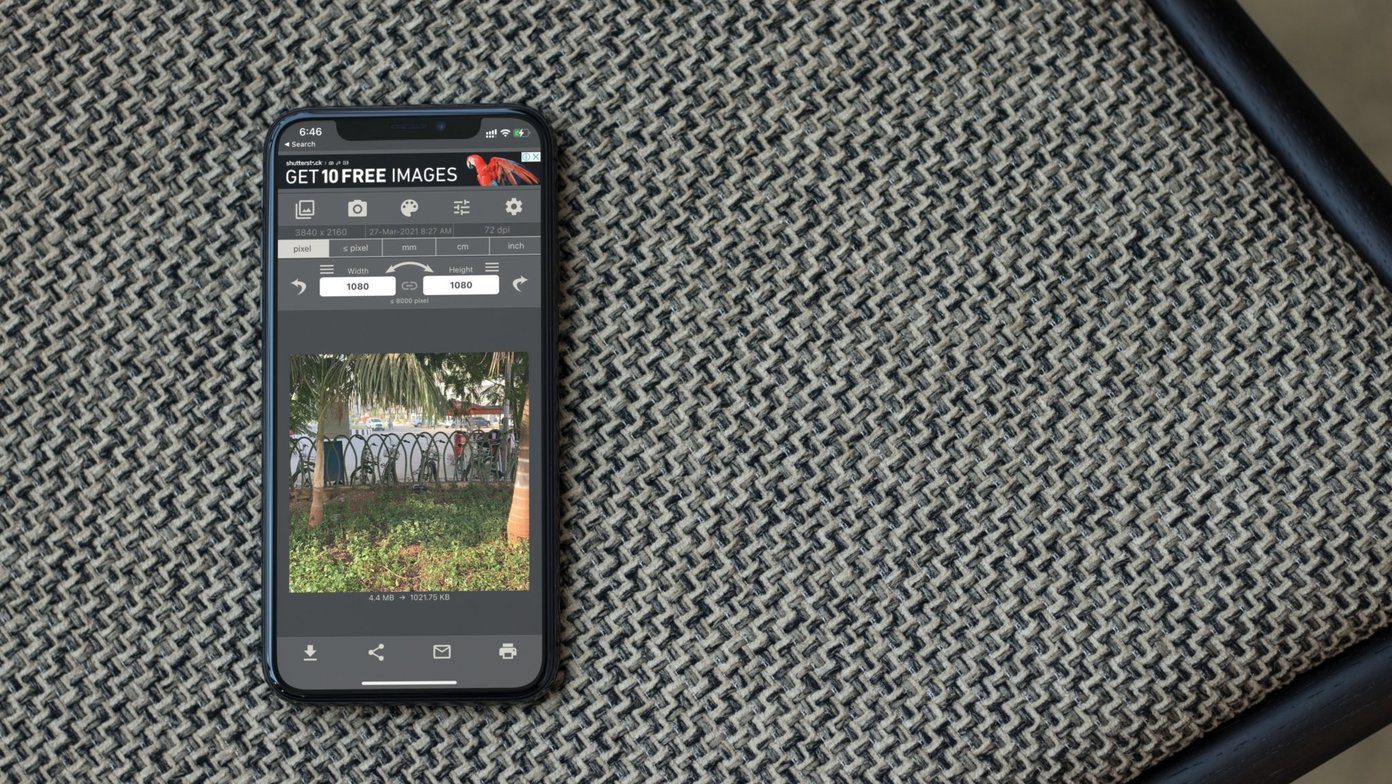
For starters, it’s time to reveal the sad truth — there is no native option to find the file size of a picture on an iPad or iPhone. However, various alternatives exist, and I have compiled the best 4 of them in this post. So let’s check the various ways to view image size on iOS.
1. Use Files App
You can take the help of the Files app to view the file size of a picture. However, unlike Android, images do not automatically show up in the Files app. You need to save them from the Apple Photos app first. Here are the steps in detail: Step 1: Open the picture in the Apple Photos app on your iPhone or iPad. Step 2: Tap on the share icon at the bottom. Then, scroll the sharing options towards the left side to reveal more options. Tap on Save to Files. Step 3: The Files app will open. Navigate to the folder where you want to save it on your iPhone or in iCloud. Then, tap on Add at the top. Step 4: Open the Files app on your iPhone or iPad. Step 5: Navigate to the folder where you downloaded the image in step 3. You will find the file size mentioned near the file name.
2. Using Apple Shortcuts App
In the above method, you need to download an image first. The process becomes hectic if you have to check the size for many images. An alternative way exists using the Apple Shortcuts app. For that, you need to keep the Shortcuts app installed on your iPhone. In case it isn’t installed on your phone, download it from the below link. Download Apple Shortcuts App Once installed, you need to create a shortcut for file size and run it whenever you want to view the photo size. Here are the steps in detail: Step 1: Launch the Shortcuts app on your iPhone or iPad. Step 2: Tap on Create Shortcut. Step 3: Using the search bar, look for Get Details of Files. Tap on it. Step 4: Tap on Choose under Get Details of Files. Select File Size. Step 5: Again, using the search bar, look for Show notification. Tap on it. Step 6: Then, tap on the area that says Hello World, and you will see Details of Files at the bottom. Tap on it to add it. Tap on Done. Step 7: You will be taken to the homescreen of the app, where you will see the newly created shortcut. Tap on the three-dot icon on the shortcut. Step 8: Inside the shortcut, tap on the on/off toggle icon at the top. Then, enable Show in Share Sheet and hit Done. Tap on Name to give a name to your shortcut. Again, press Done on the screen that opens to save the changes. Step 9: Launch the Apple Photos app and open the photo whose size you want to know. Step 10: Tap on the share icon. Then, tap on Shortcuts accessible via scrolling the icons at the bottom. Step 11: You will be shown the shortcuts available in the Shortcuts app. Tap on the shortcut that you created for file size. A notification will appear showing you the file size of your picture. Repeat steps 9-11 whenever you want to know the image size. The steps 1-8 have to be performed only once.
3. Use Third-Party Gallery Apps
One of the best gallery apps on iOS to know the photo size and resolution is Google Photos. All you need to do is swipe up on the photo, and the necessary details will be shown to you. You can use it as an alternative iCloud Photos as it acts as a photo-storage service too. However, if you don’t intend to do so, you shouldn’t enable the backup option in Google Photos. You can even move your entire gallery from iCloud to Google Photos. And, if Google Photos doesn’t suit your liking, give a try to other third-party gallery apps.
4. Use Third-Party Metadata Apps
In case you want to know Exif details about your photo such as aperture, camera maker, brightness level, resolution, and more, you need to download Exif viewer apps. You can try apps like Exif Metadata, ViewExif, and Photo Investigator. You can even edit the metadata associated with the image using these apps.
Stop Expecting
As an Android user, I’m surprised that this tiny feature is missing in iOS. But it’s Apple. You should be ready to expect anything from its products. We hope they add the ability to view the image size in future iOS builds. Next up: Don’t like iCloud? You can disable it. But before doing that, know what happens when you disable iCloud. The above article may contain affiliate links which help support Guiding Tech. However, it does not affect our editorial integrity. The content remains unbiased and authentic.


